HAPPY NEW YEAR!
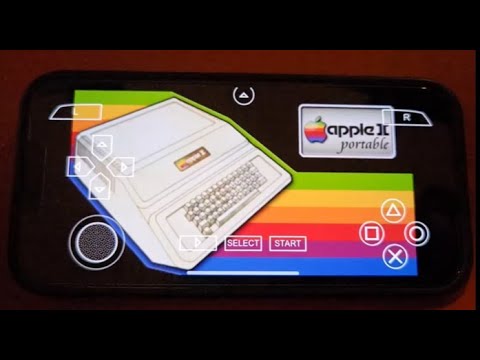
A fan discovered a really cool combination. An Atari VCS Classic controller connected to the GABE for another unique retro Apple II gaming experience.
The issue is the Atari VCS controllers, while they support bluetooth, they do it in a "VCS" proprietary way. They claim XBOX / PC / Android support, however with XBOX is supported as 'wired' only, and I've found some strange behaviors with PC and Android when connected via bluetooth.
For $27 I had to order an Atari VCS Classic controller to check it out!

There are some issues:
1) Once you pair the VCS controller, it doesn't seem to connect properly on the 1st connection, you need to disconnect the controller, and then connect again (don't pair again, just connect the 2nd time) after that it will work fine each time.
2) The stick shaft doubles as a 'paddle' style controller. You can spin the shaft for an additional axis; however, this appears as an analog throttle controller in the bluetooth profile. **You can test by putting the GABE into Paddle Mode (either X or Y).
3) I can't promise you will be able to use 2 controllers for 2 players. I was able to successfully connect an XBOX controller along with the VCS Classic, however, there have been some reports of a 2nd controller not connecting properly after the VCS controller is connected. Still looking into this.
4) This is a digital joystick. It is not an analog joystick such as the Mach III Bluetooth Revival joystick. It behaves in pure digital. Some Apple II games might not like this, and some games you will need to answer 'Atari Joystick', vs. 'Apple Joystick'.
4) Don't bother with the Atari VCS Modern controller. This is the Atari VCS controller that looks like a modern XBOX style controller. This controller also uses bluetooth to connect to the Atari VCS; however I couldn't get anything to work reliably with the GABE.
There are some benefits:
1) The Atari VCS Classic has really cool LEDs showing the direction of the controller.
2) The Atari VCS Classic has the option button to reverse button 0 and button 1 on the Apple II, making it really ideal for Lode Runner and other games where its beneficial to reverse the buttons.
- Atari button is used to pair bluetooth (long press)
- Atari button is used to connect (short press) and disconnect (long press when powered on)
- Atari button (short press when power on) will put the GABE into the menu screen and allow you to traverse the menu; up/down to move in the menu, left will go back a screen, and right goes forward, selects, or toggles the menu selection.
- Left Option button (on the bottom of the controller) will disconnect the controller from the GABE (3 presses)
- Right Option button (on the bottom of the controller) will reverse button 0 and button 1 on the Apple II. You will see the reverse icon light up on the GABE screen.
3) The Atati VCS Classic shows battery levels in LED - a circlular light indication around the base of the joystick, has button 0 and button 1 support (classic wired atari joysticks only had 1 button).
4) Looks super Atari retro!
Over all, I am really enjoying this!
Here is the firmware update that supports the Atari VCS Classic controller. It will connect fine on the older firmware, however this update fixes some bugs introduced by that controllers bluetooth implimentation.